
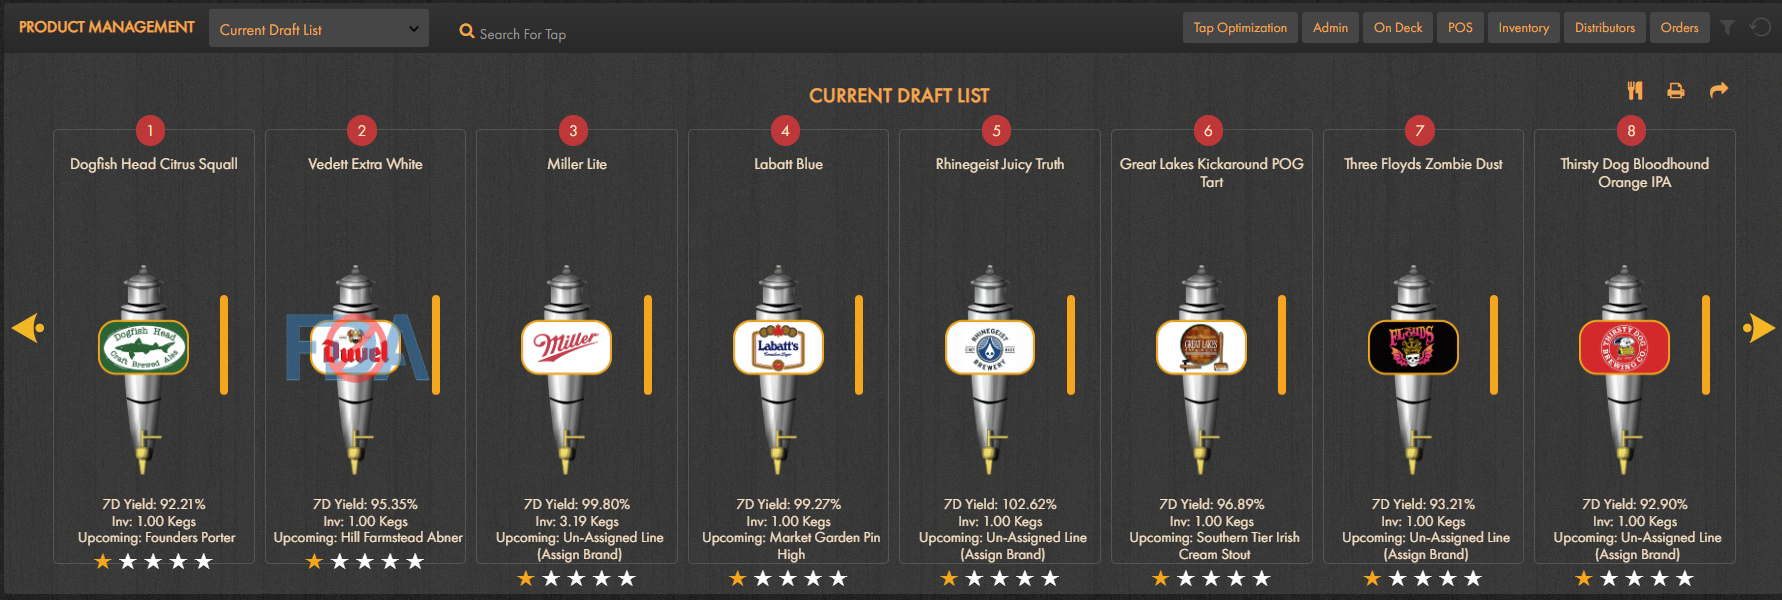
Begin by navigating to the Product Management Widget. Here you can utilize the Current Draft List, Upcoming Draft List, and Bottles & Cans list to determine what will appear on the menu. Keep in mind some of these tips before printing:
- Products with Red circles will appear on the menu
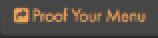
- Designate Local Brands by clicking on a product and then selecting Local Brand
- Check that not only active products are available (Inventory Button via Product Management Widget) but that each corresponding line (both current and upcoming) reflects accurately.
- The same applies to Bottles & Cans on availability. Keep in mind any menu limitations if applicable
- You will have an opportunity to review it before physically printing the menu
- Some users have a designated Proof Your Menu button
 and have the following SmartBar cadence for menu changes: SmartBar > Product Mgmt. > Upcoming Brands > UNLOCK MENUS > MAKE CHANGES > LOCK MENUS > PROOF YOUR MENU
- Some users have a designated Proof Your Menu button
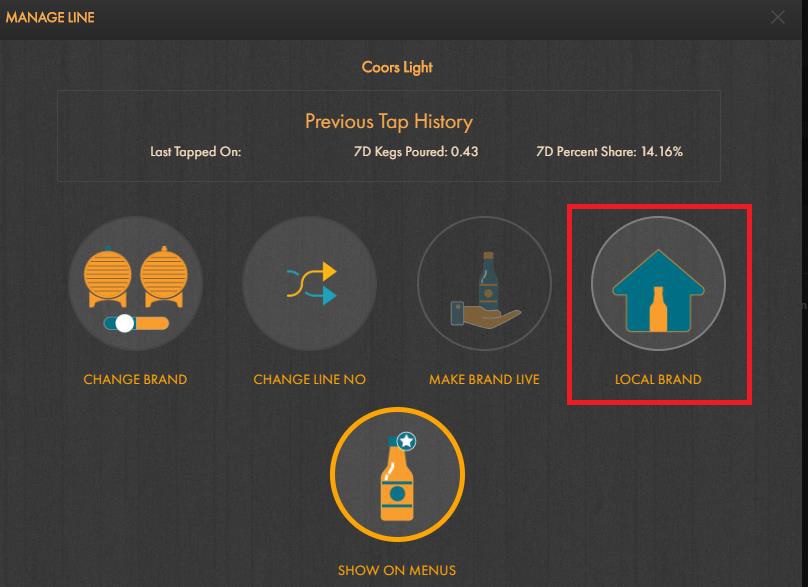
If all products appear correct, click the printer icon on the Product Management Widget and select the template you wish to use. Once selected a pdf file will be downloaded for you to review.
Should you need to make any changes, return to SmartBar and make the necessary adjustments.