
- Log in to SmartBar Mobile
- If this is your first time using the app, be sure to click "OK" when prompted for camera access - this is needed to take photos of invoices to attach to open orders
- From the homepage, click the hamburger icon in the upper left-hand corner to expand the menu

- Click "SmartOrders" from the sidebar menu

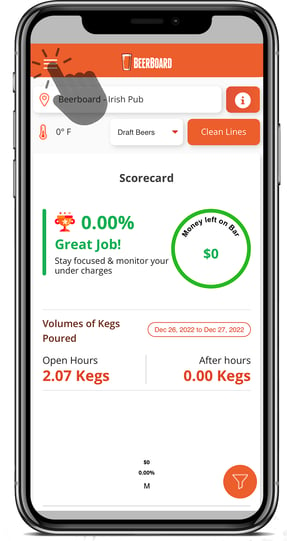
- Click the "Orders" button to access inventory history
- Click the filter to show your list of Incomplete, Recommended, Open, and Received orders
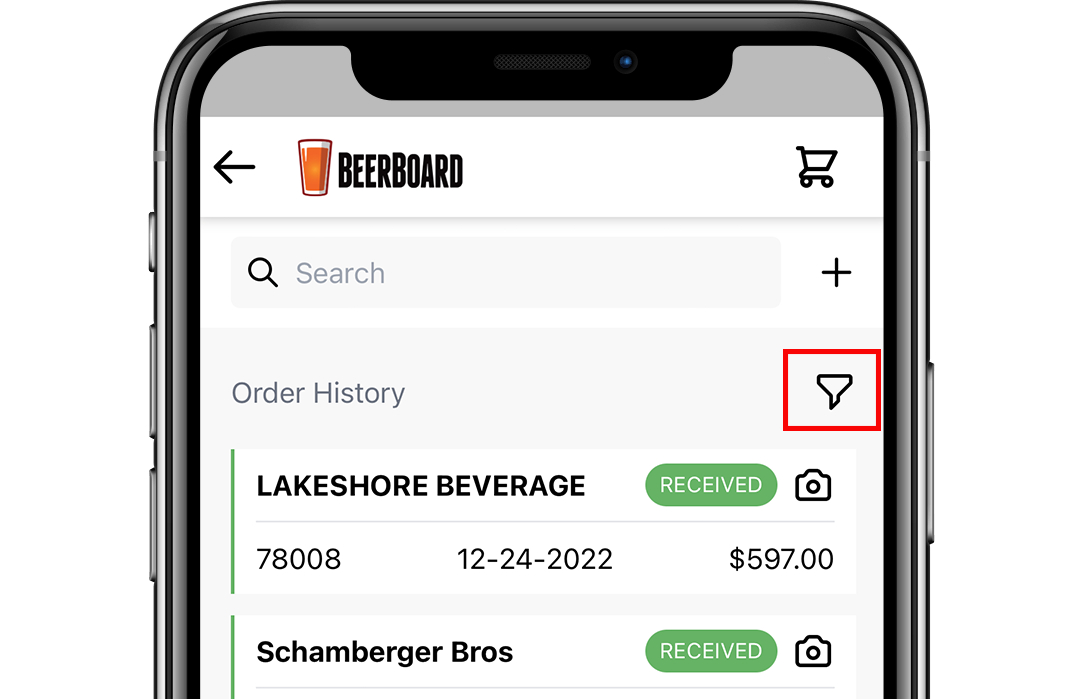
- Use the search bar to find your order by distributor or PO number
- Order status is visible on the far right of each order
- If you have an invoice to capture to match with your purchase order, please use the Invoice Capture function. There is no need to click the "Receive" button if you use Invoice Capture method to receive orders.
Invoice Capture
- Locate the open order and then tap the camera icon located to the right of the status indicator to take a photo of the corresponding invoice or if you already have the photo taken, access your photo library to select it.

Invoice Capture Tips
- Camera access permission should appear automatically but if not, or there is an issue, go to SmartBar Mobile's app info > permissions > allow camera/media access. Check that the app is updated to the latest version via the app store used.
- If taking a picture, please ensure that the invoice is on a flat surface, not obstructed by anything (ie.hand, other papers, etc) and that there is enough light for a clear, nonblurry picture.
- A white box will appear in the capture field to help make sure the image is visible. Take the picture once the box turns, and remains, green.
- If the image taken does not meet these requirements, an error message will appear indicating that the image can't be recognized.
NOTE: If your invoice has multiple pages, each page must be clearly captured. Single images with multiple pages will not allow the software to scan the data accurately. To achieve this, capture the first page. Once the order is created, use the Approve + Add More button to capture the next page until all pages are captured.
If the wrong invoice is uploaded, contact support immediately as the wrong products could be added to the inventory.
- After your invoice image is captured, the Preview Invoice Details screen will appear
- “Approve” will save the invoice
- “Delete” will not save and another image can be re-uploaded instead

- You will then receive a confirmation notification
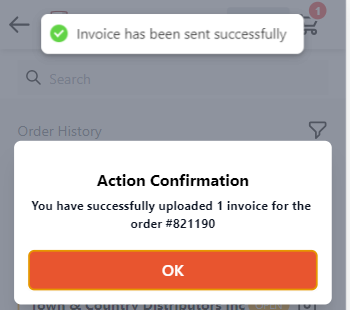
Note: In addition to a onscreen notification, an email is sent to both the manager(s) and user. This occurs upon upload and processed.
Uploaded:

Processed:

- Click "View Invoice Image" to view and download the image of the invoice that was attached
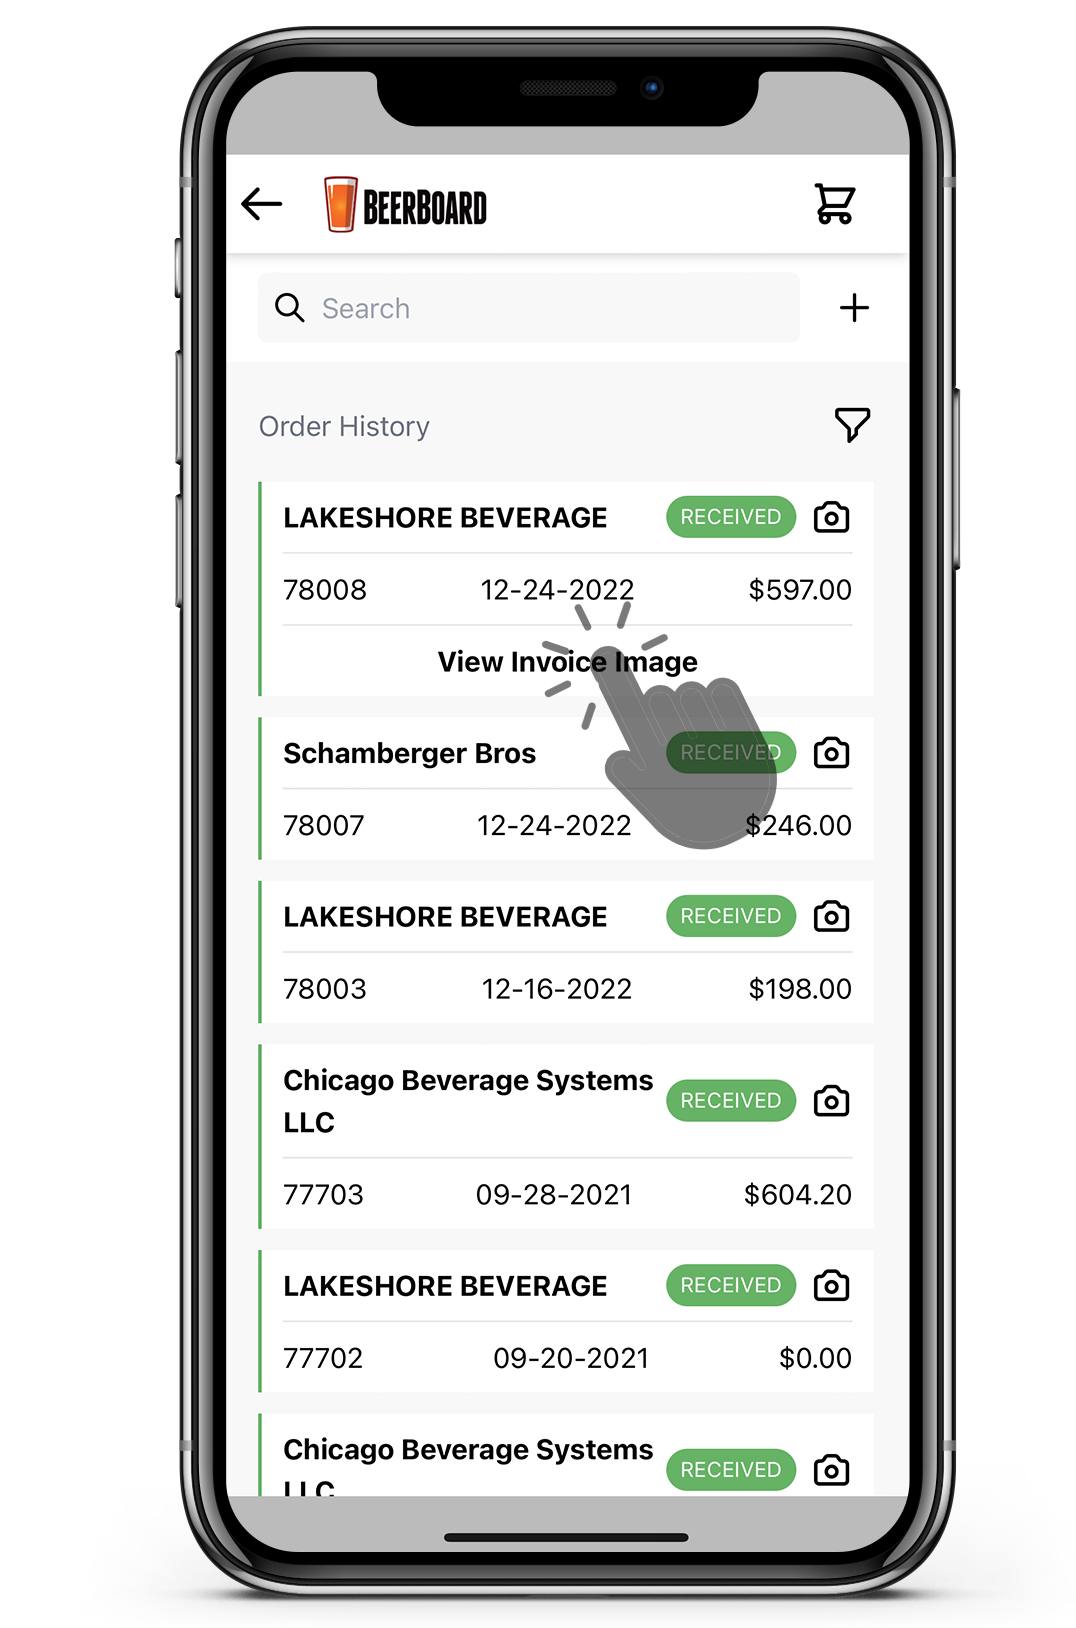
- You can come back any time to view a captured invoice
- Orders will be marked as Received once invoice matching is completed. You do not need to manually mark the invoice as received within SmartOrders
- NOTE: Received status will not appear instantly after uploading an invoice and may take up to one business day to match
- Invoice images cannot be deleted at this time
- Click this link to learn about each status
Invoice Capture is also available on Desktop